

Form Guide · DF.023 · The Darkroom Print Record
How to record a darkroom print so you can print it again
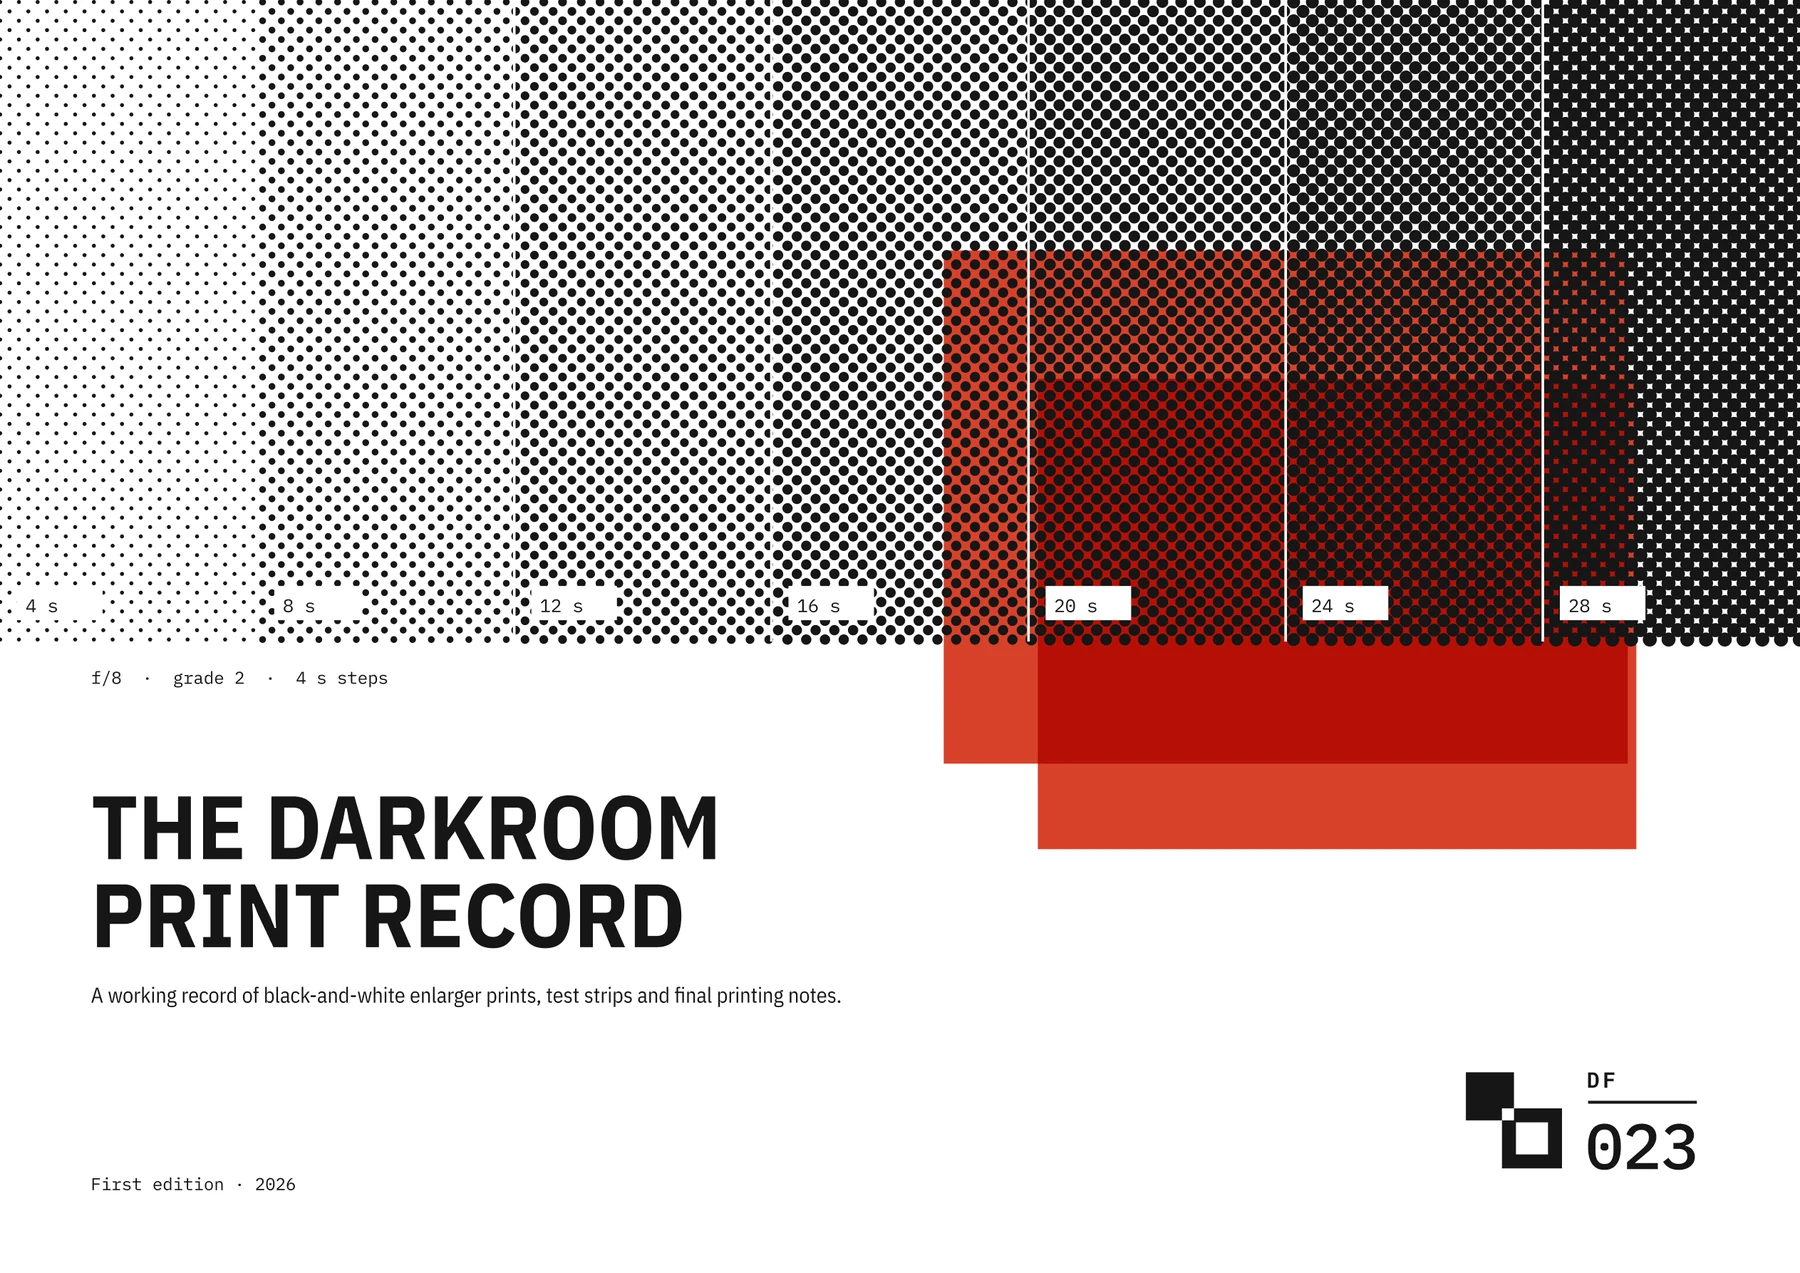
Record the setup, paper, filtration, exposure times and dry assessment for a black-and-white enlarger print. Use the final printing notes as the starting point for a later reprint.
Watch the guide
When people start
- You have a drawer of test strips with nothing written on the back.
- You have a new enlarger, a new paper or a different darkroom.
- A print looked right in the tray and dried down too dark.
- Someone wants another print of a negative you last printed two years ago.
Your first printing session
One negative
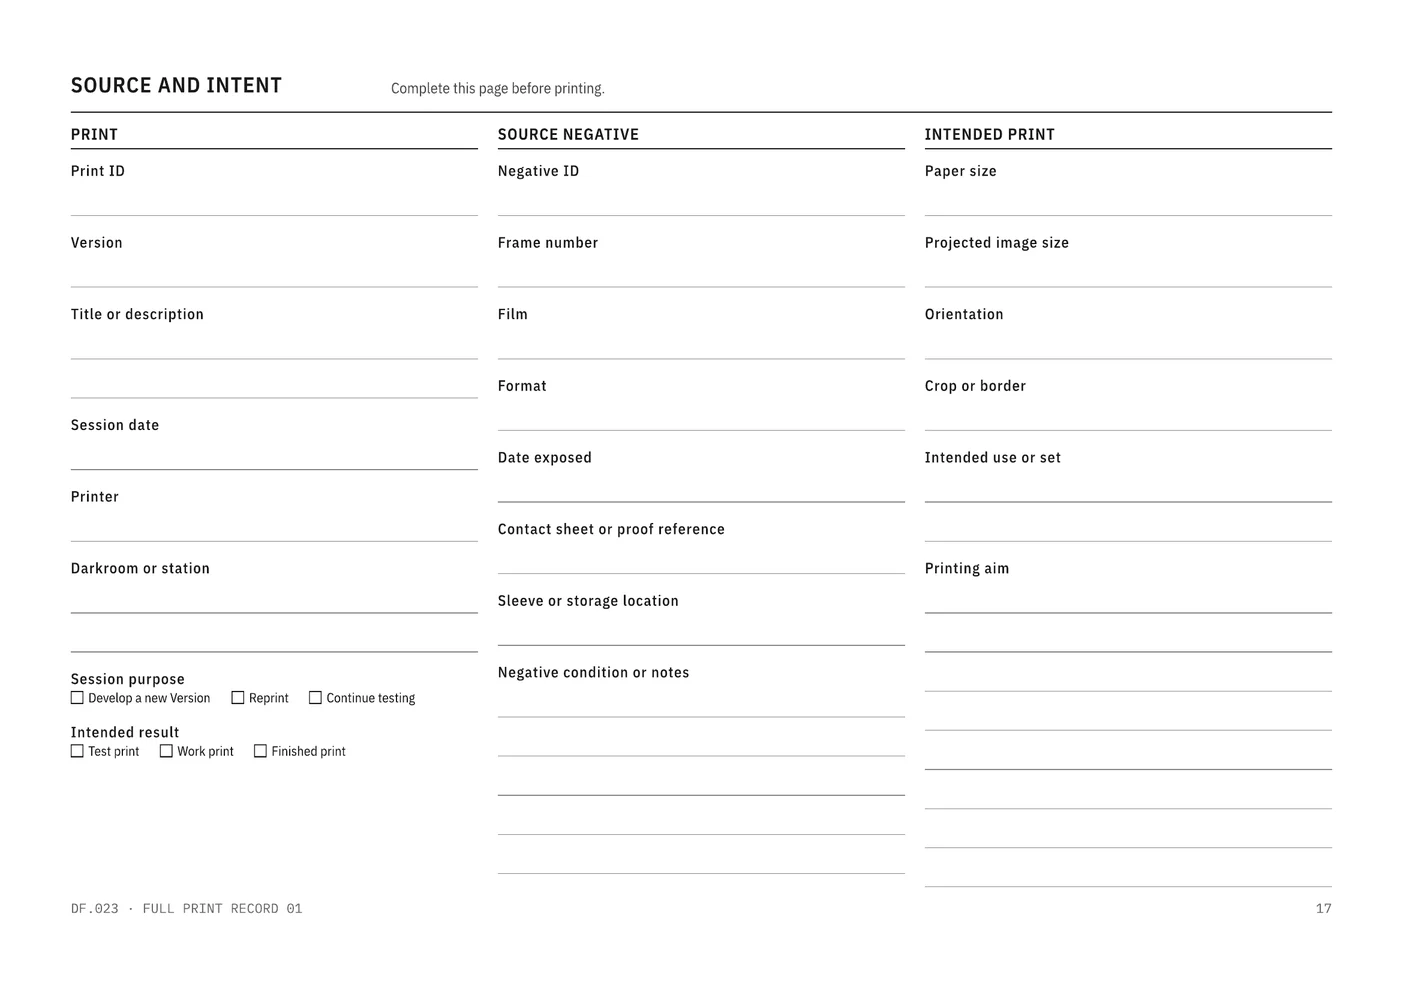
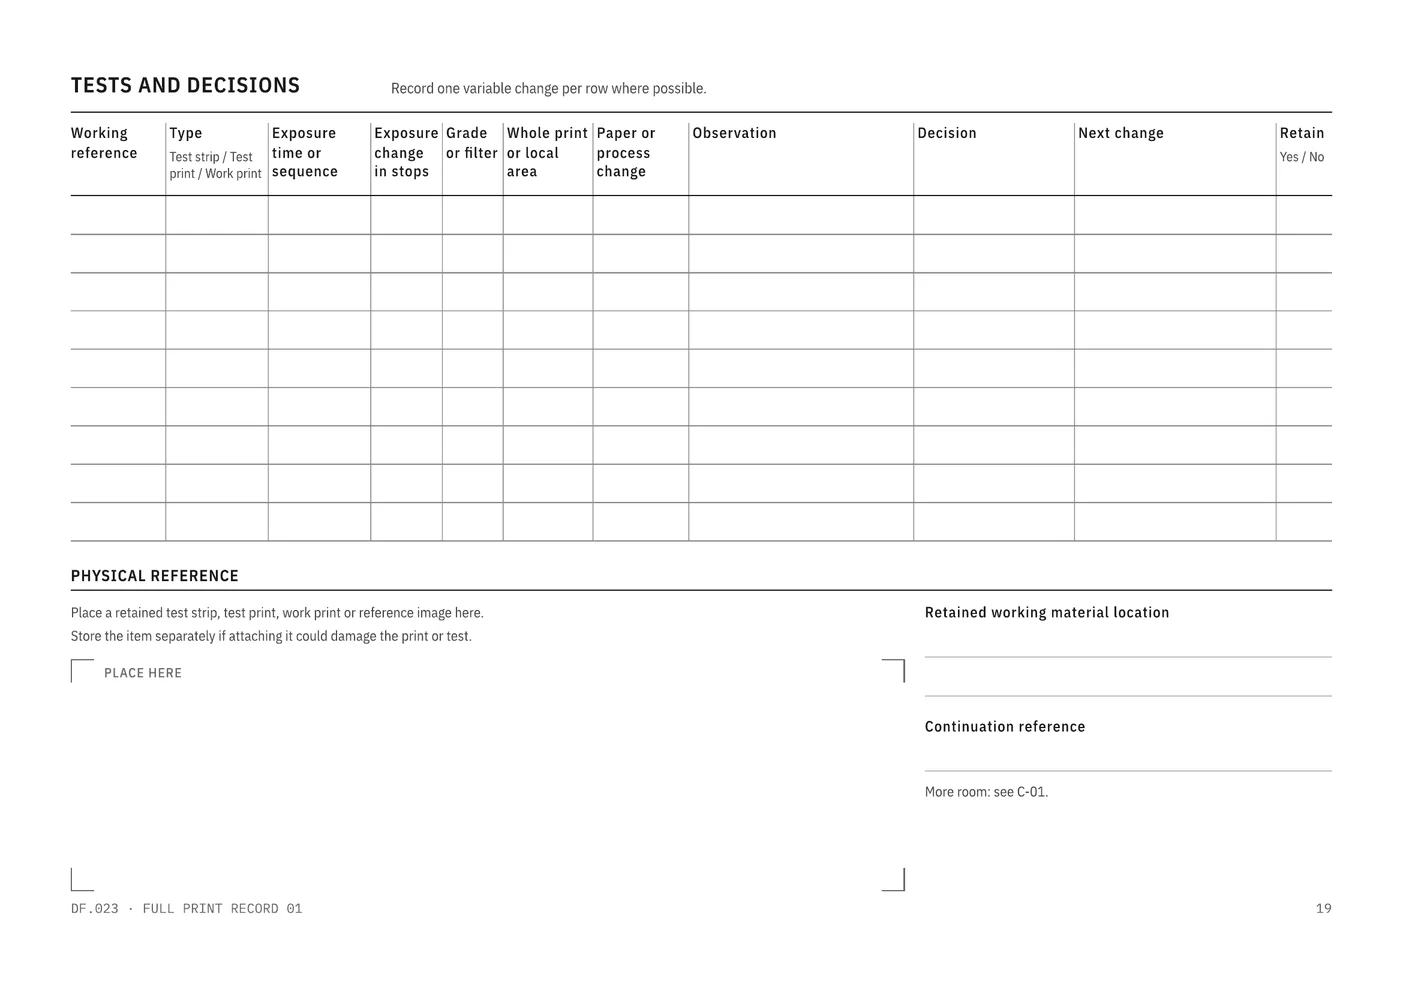
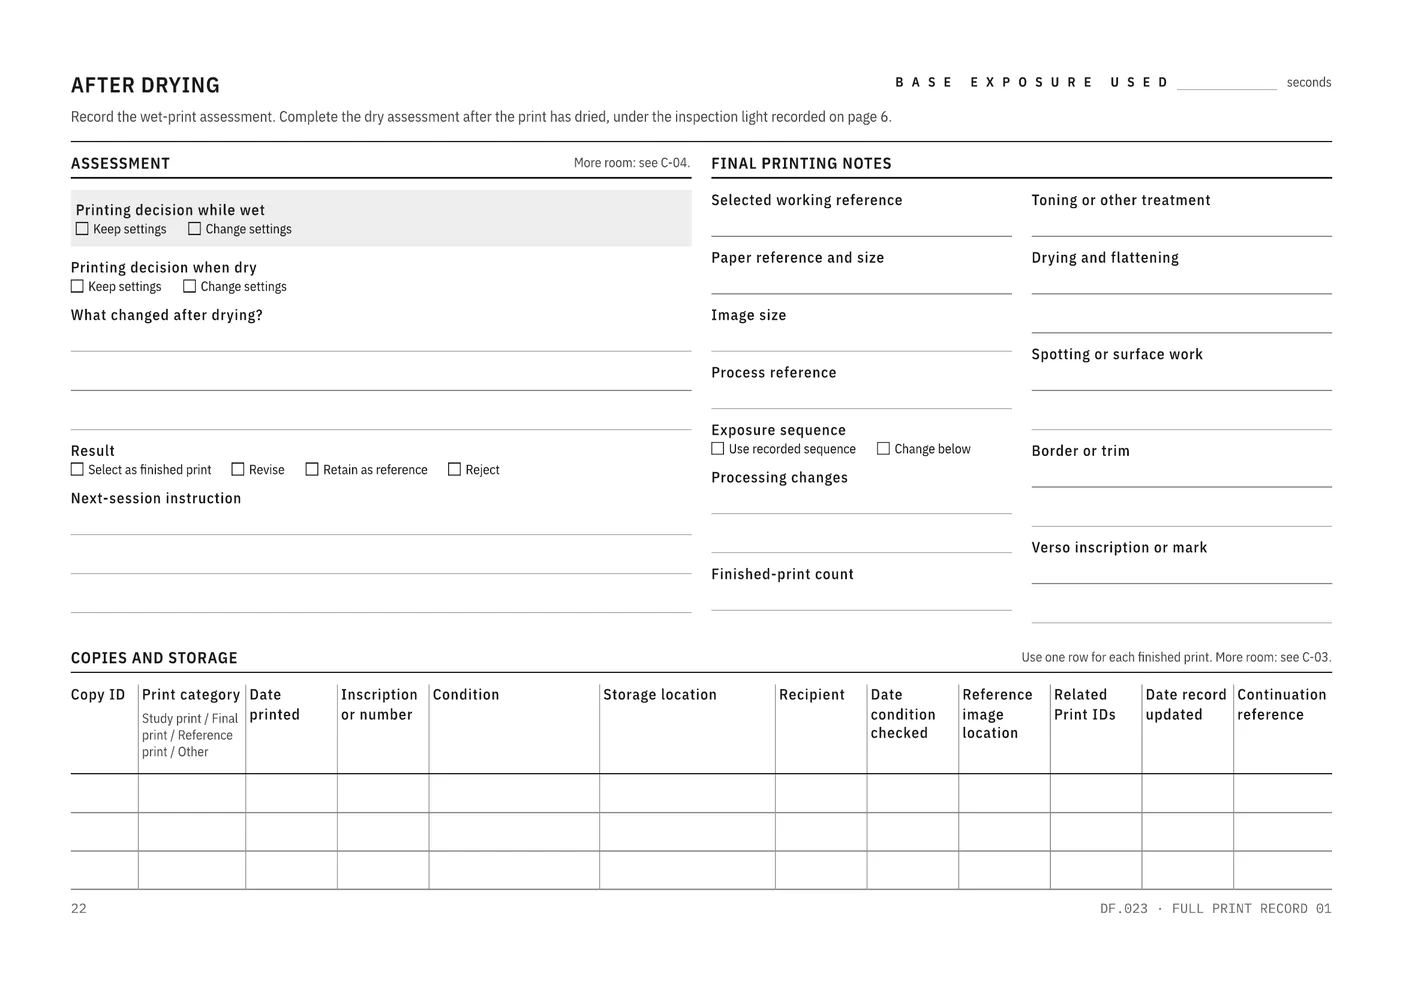
Use paper on the dry side of the darkroom. In The Darkroom Print Record, use Full Print Record 01: Source and intent on page 17, Tests and decisions on page 19 and After drying on page 22.
- Choose one negative. Give it a Negative ID and give the print you intend to make a Print ID. Page 5 shows the pattern, such as LO-N-0047 and LO-P-0047.
- Before you begin printing, fill in Source and intent: the negative, frame, paper size, printing aim and whether you are starting a new version, reprinting an existing version or continuing tests.
- Give each test strip you retain a working reference, such as T01, and write it on the back in pencil.
- Under the safelight, record one row per test strip: exposure time or sequence, grade or filter, what you saw, your decision and the next change.
- After the print has dried, complete After drying: your decision while wet, your decision when dry and what changed after drying.
- Write the final printing notes and a next-session instruction.
The next time you print that negative, the final printing notes give you your starting point.
Common questions
- Won’t writing it down slow me down?
- Fill in the Source and intent and Setup and materials pages before you begin printing. Under the safelight, the Tests and decisions page takes one row per test strip, with one variable change per row where possible.
- What about wet hands?
- Put the sheet on the dry side of the darkroom and write in pencil. Complete the After drying page later, once the print is dry, under the inspection light recorded on page 6.
- Won’t I remember what I did?
- One Print ID connects the negative, the tests, the final printing notes and every finished print. A reprint from the same notes uses the same Print ID and Version, with a new Copy ID for each finished print.
What the full edition adds
The Darkroom Print Record
- Five Full Print Records
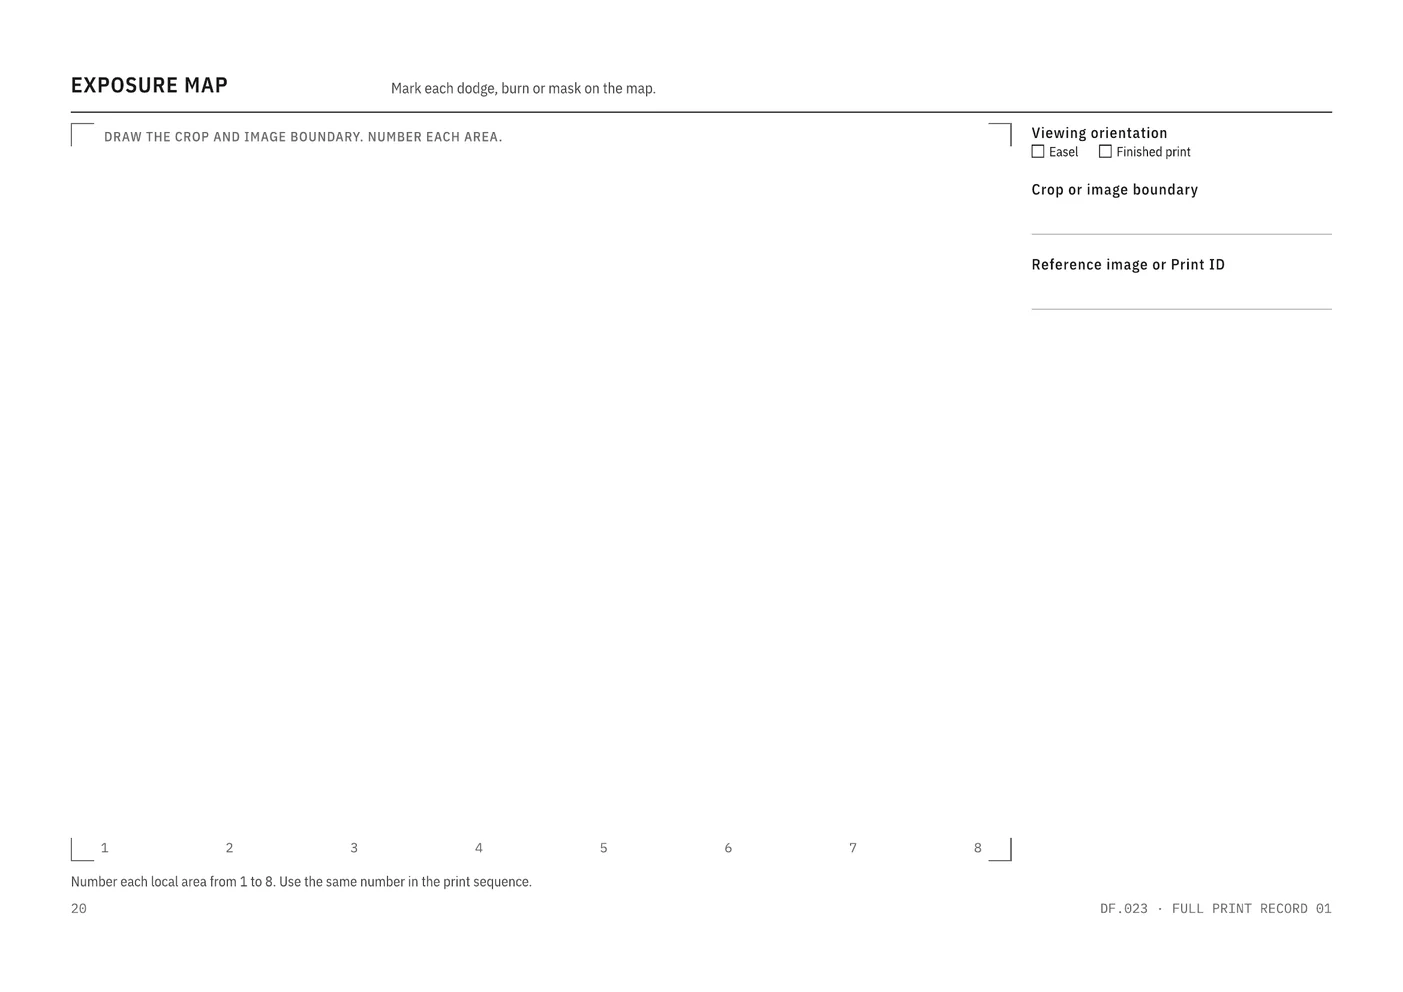
- Each has an exposure map for marking every dodge, burn and mask, and a print sequence that records each action in printing order.
- Your darkroom setup
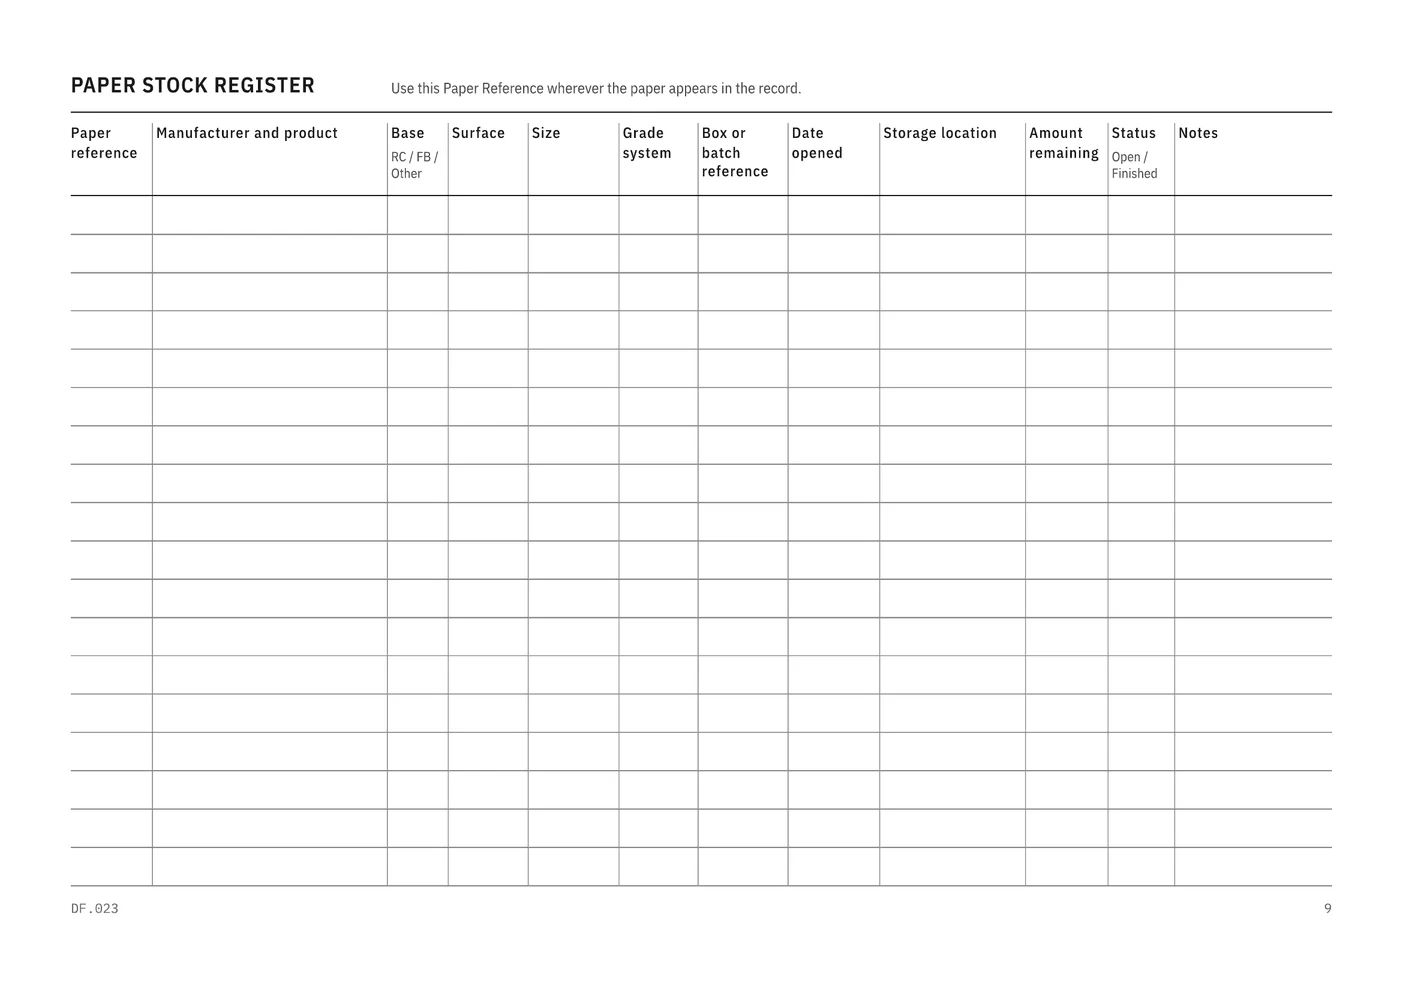
- Darkroom details, equipment setup, shared stations, a paper stock register, a chemistry batch log, a standard printing process and a log of equipment and material changes.
- Indexes and reprints
- Negative and print indexes, a reprint log, new print versions, a copy log, Printing Notes Cards, and storage, condition and movement records for finished prints.
- Comparisons
- Paper, process and equipment comparison pages, each testing one variable with the others left unchanged.
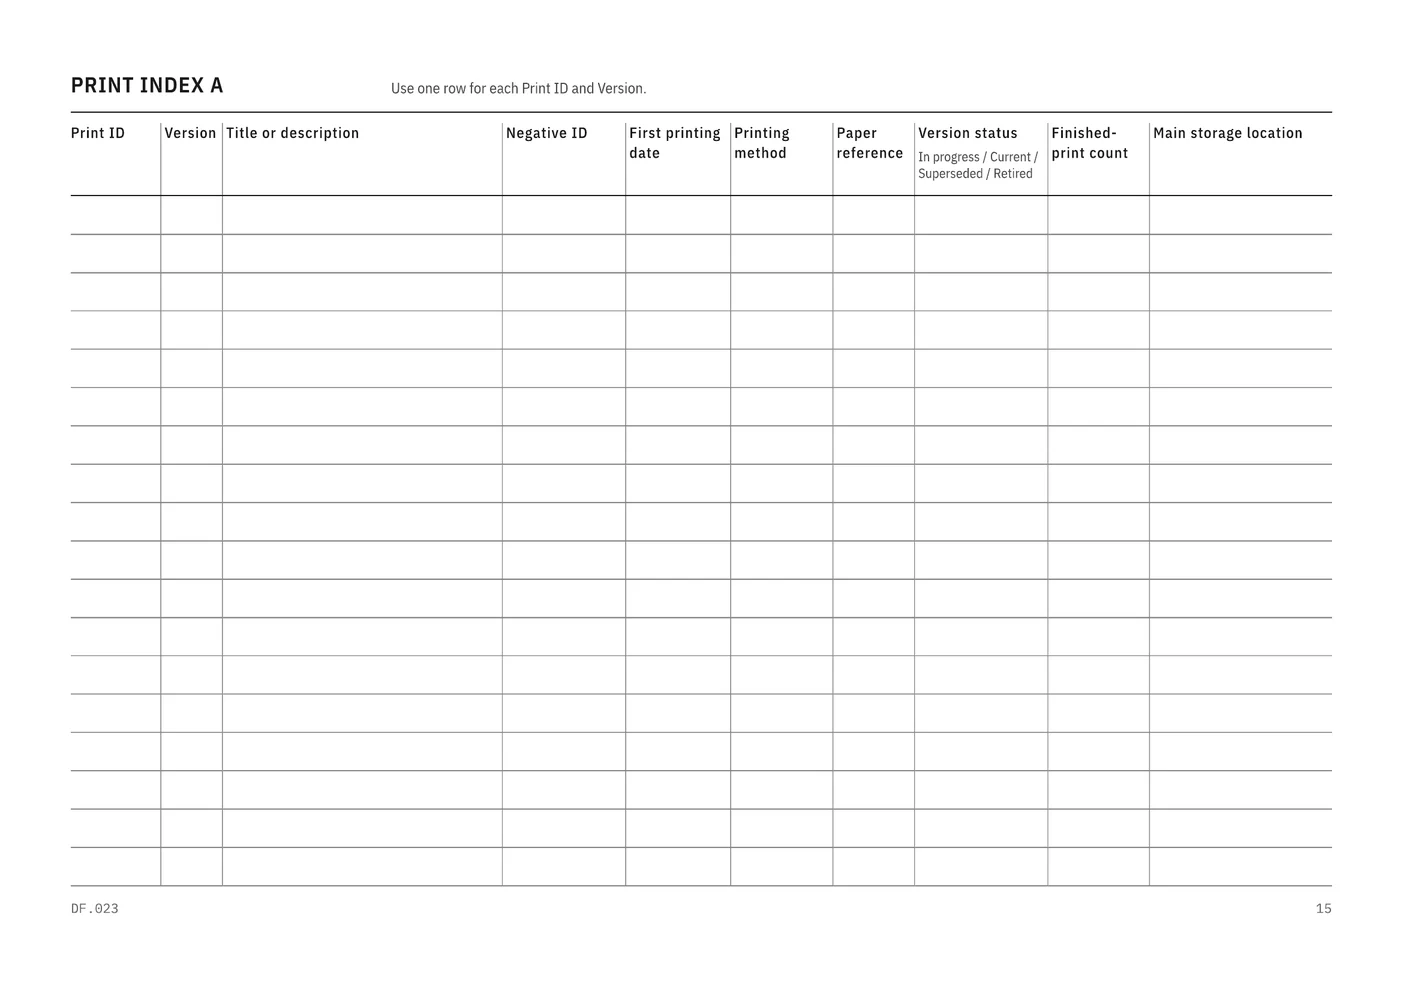
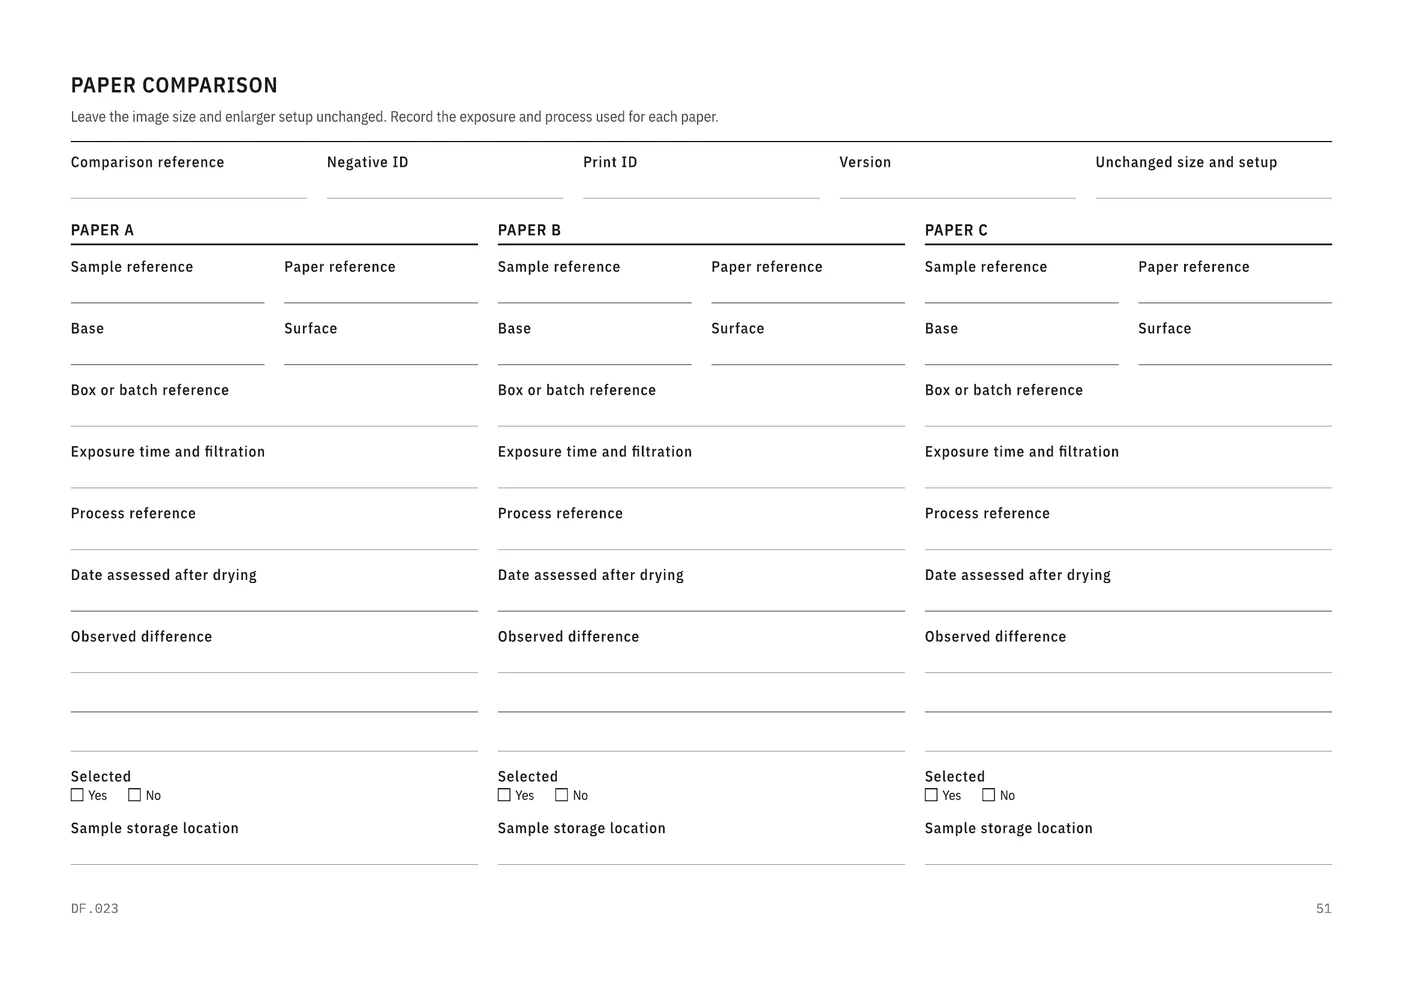
The edition prints on A4 landscape and comes as Print, Low-Ink, Fillable and Tablet PDFs. A Supporting Set adds Quick and Single Print Records, a Repeat Print Record Set, continuation and register libraries and identification slips, and a completed example shows a full record.
Free utility
F-stop test-strip card
Enter a base exposure time and a stop interval. The card calculates the exposure times and the additional seconds for successive steps. A dodge and burn mode works out the time for any fraction of a stop. It prints as a free PDF.